이번 블로그에서는 최근 나온 기능인 Lambda Git Actions를 이용해 CICD Pipeline을 구축해보려 합니다.
아키텍처는 아래와 같이 구성됩니다.

Lambda Git Actions CICD Pipeline을 구축하기 위해서는 아래의 순서를 따라야합니다.
1. IAM OIDC 생성 및 정책이 부여된 역할 생성
2. Lambda Function 구성
3. Github 구성
IAM OIDC 생성 및 정책이 부여된 역할 생성
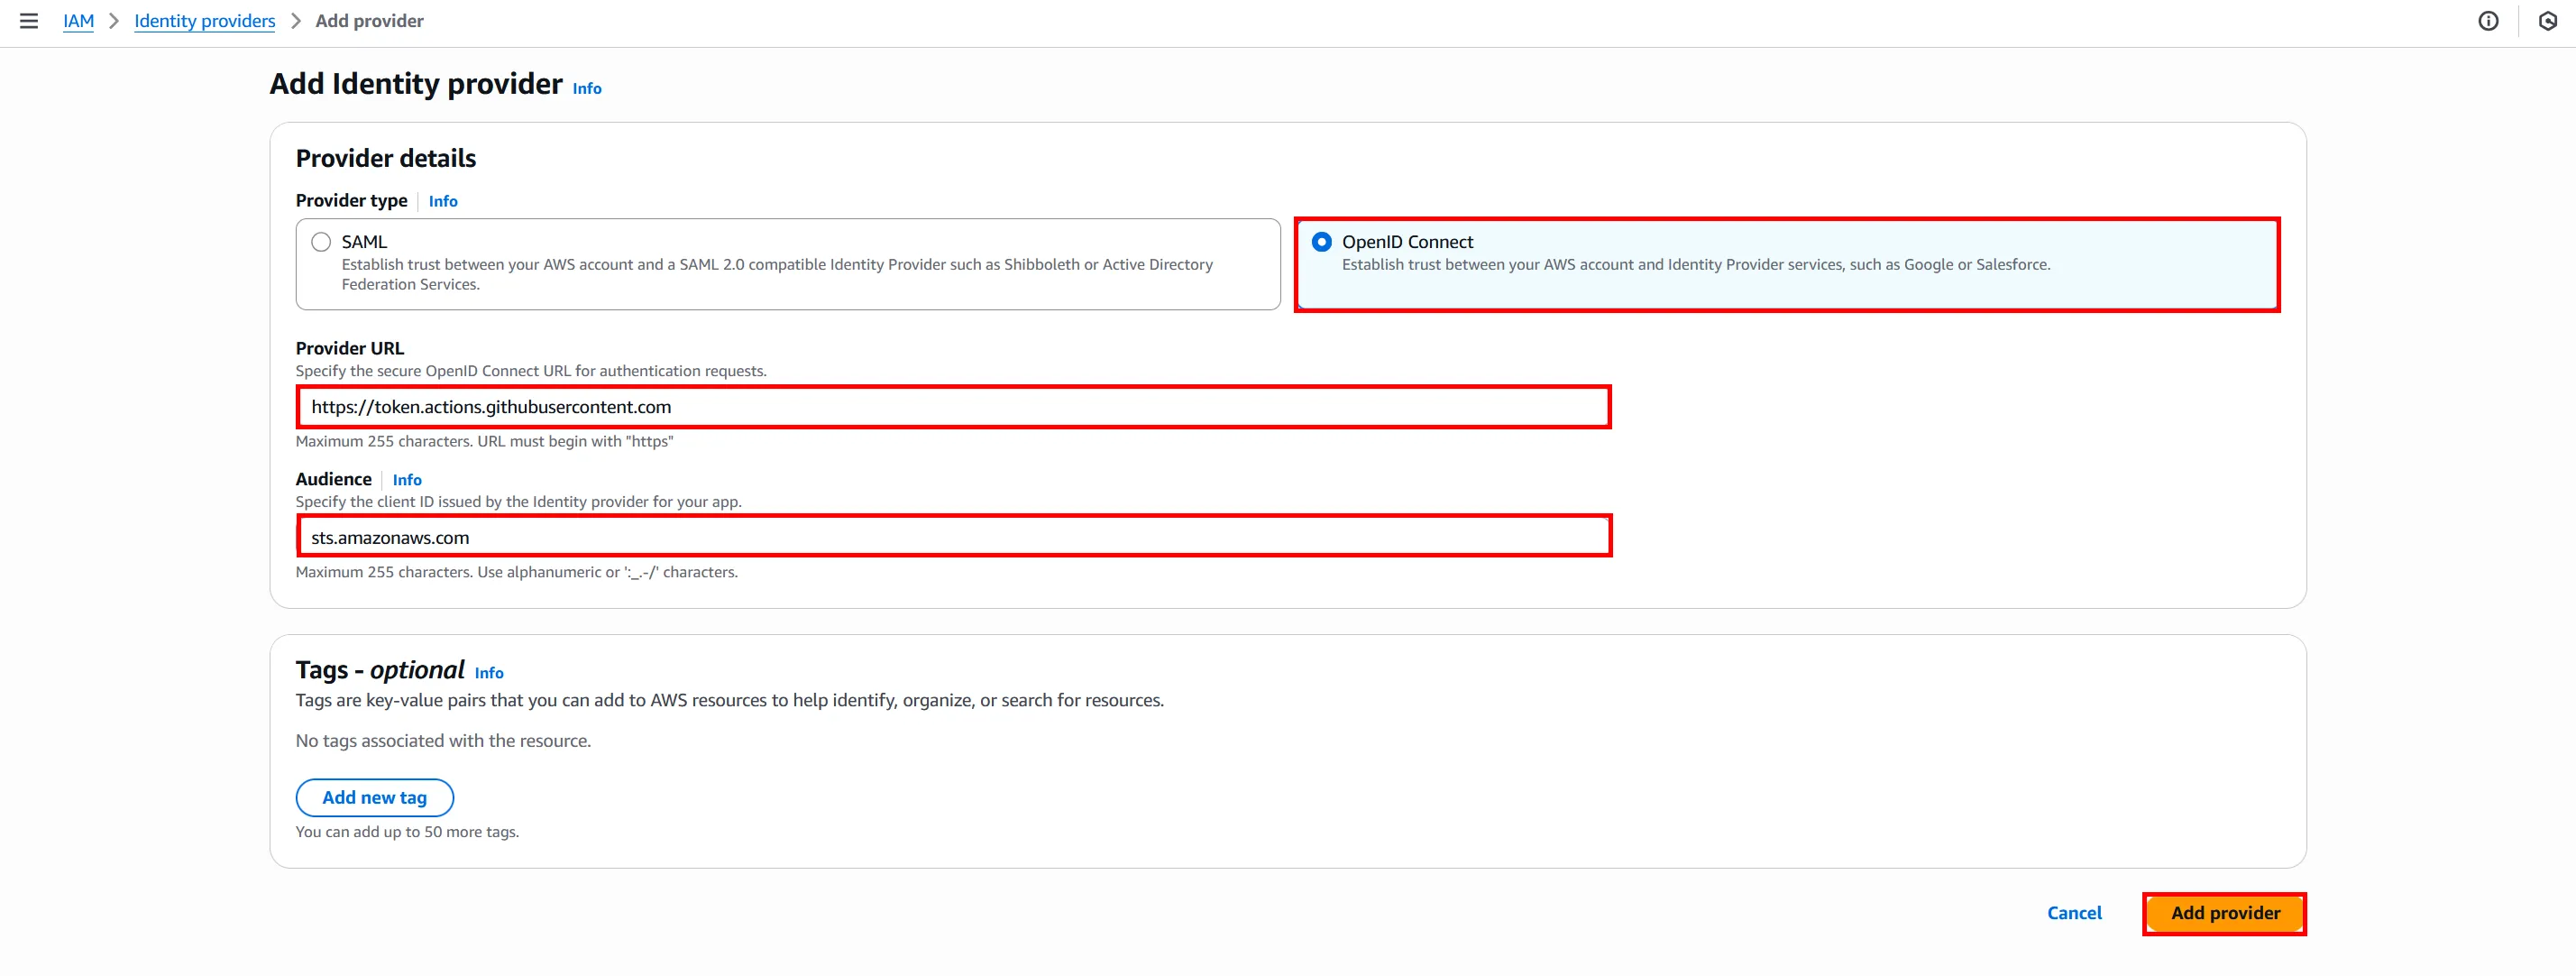
우선 아래의 사진과 같이 OIDC를 생성해줘야합니다.
- https://token.actions.githubusercontent.com
- sts.amazonaws.com
다음으로 아래의 정책을 참고해서 Trust Policy를 생성해줘야합니다.
{
  "Version": "2012-10-17",
  "Statement": [
    {
      "Effect": "Allow",
      "Principal": {
        "Federated": "arn:aws:iam::<ACCOUNT_ID>:oidc-provider/token.actions.githubusercontent.com"
      },
      "Action": "sts:AssumeRoleWithWebIdentity",
      "Condition": {
        "StringEquals": {
          "token.actions.githubusercontent.com:aud": "sts.amazonaws.com"
        },
        "StringLike": {
          "token.actions.githubusercontent.com:sub": "repo:<GithubUserName>/<GithubRepoName>:*"
        }
      }
    }
  ]
}

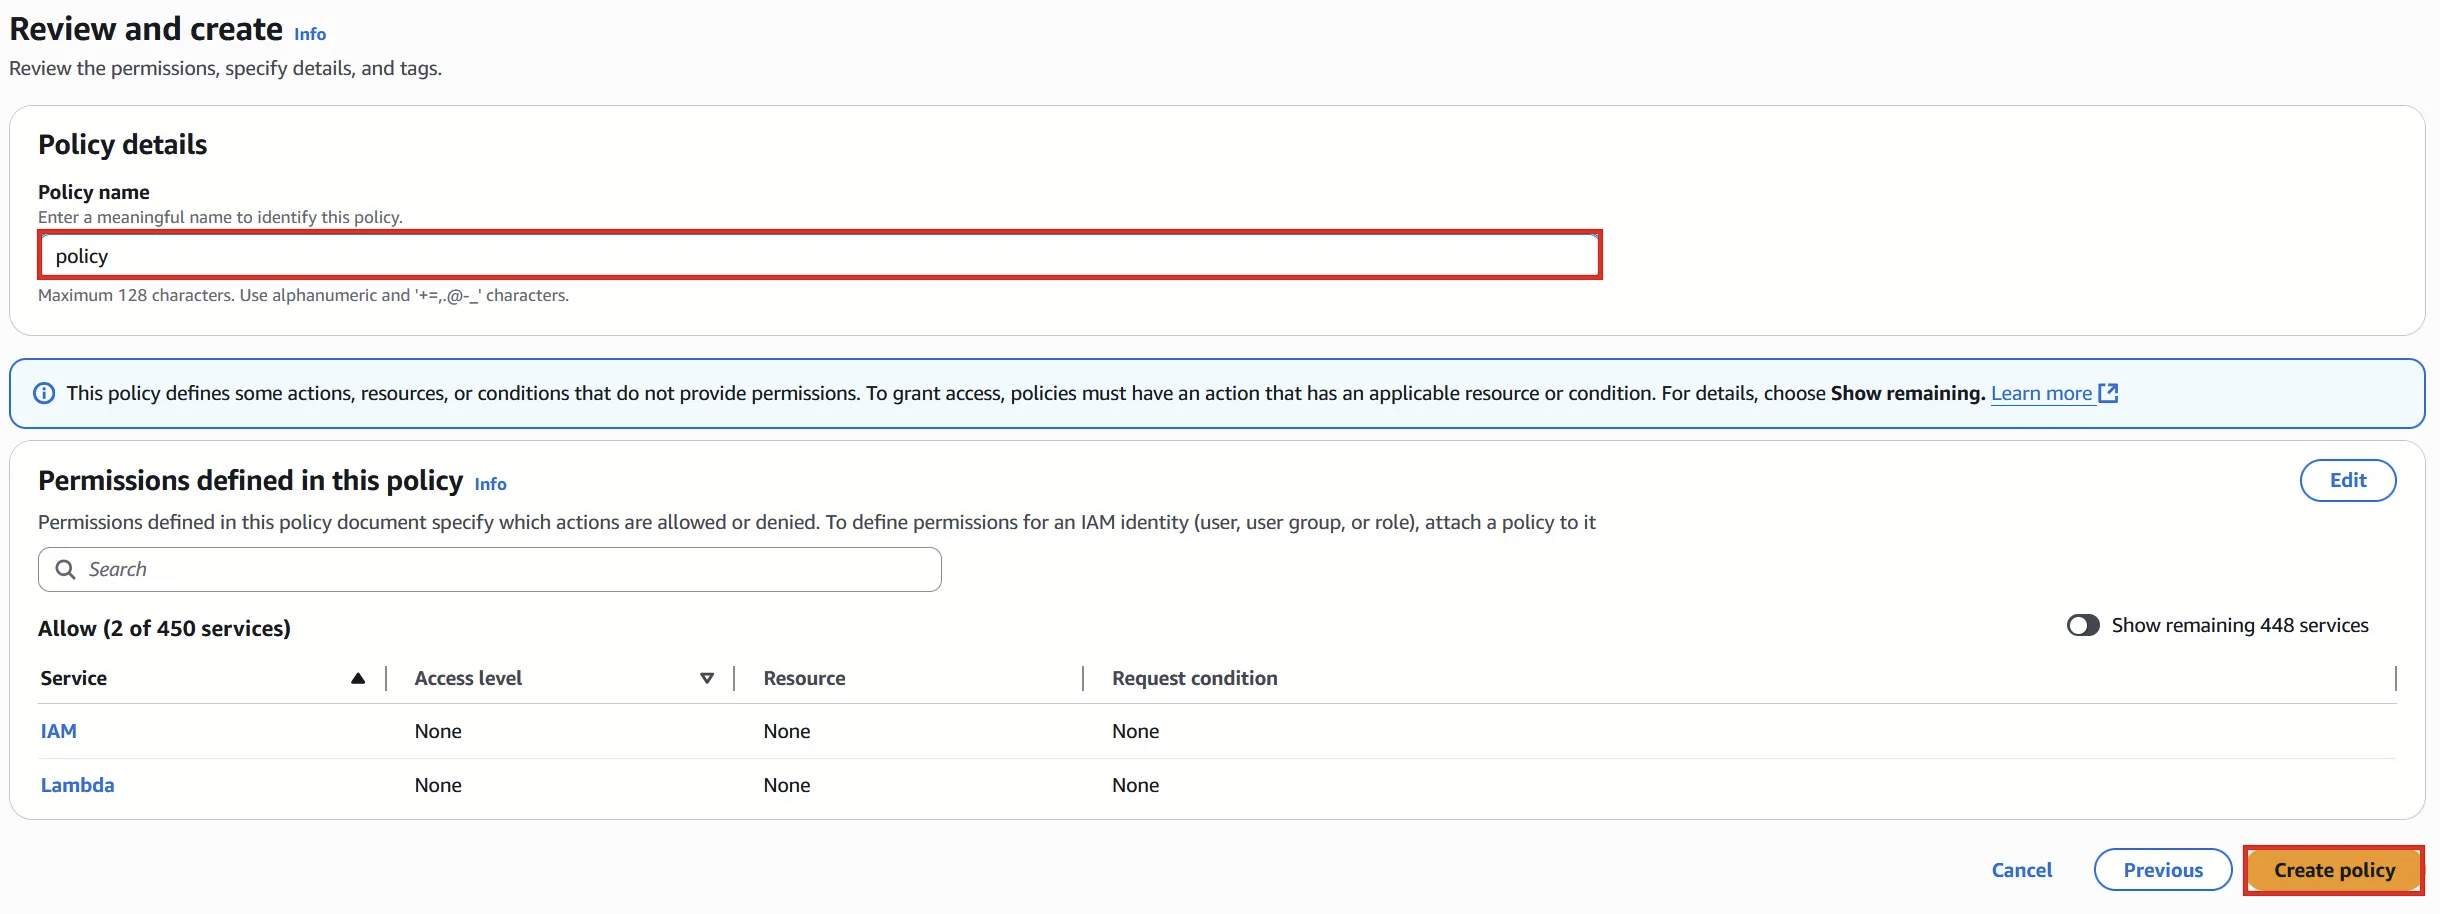
이제 생성한 역할에 Lambda에 대한 권한을 부여해주겠습니다.
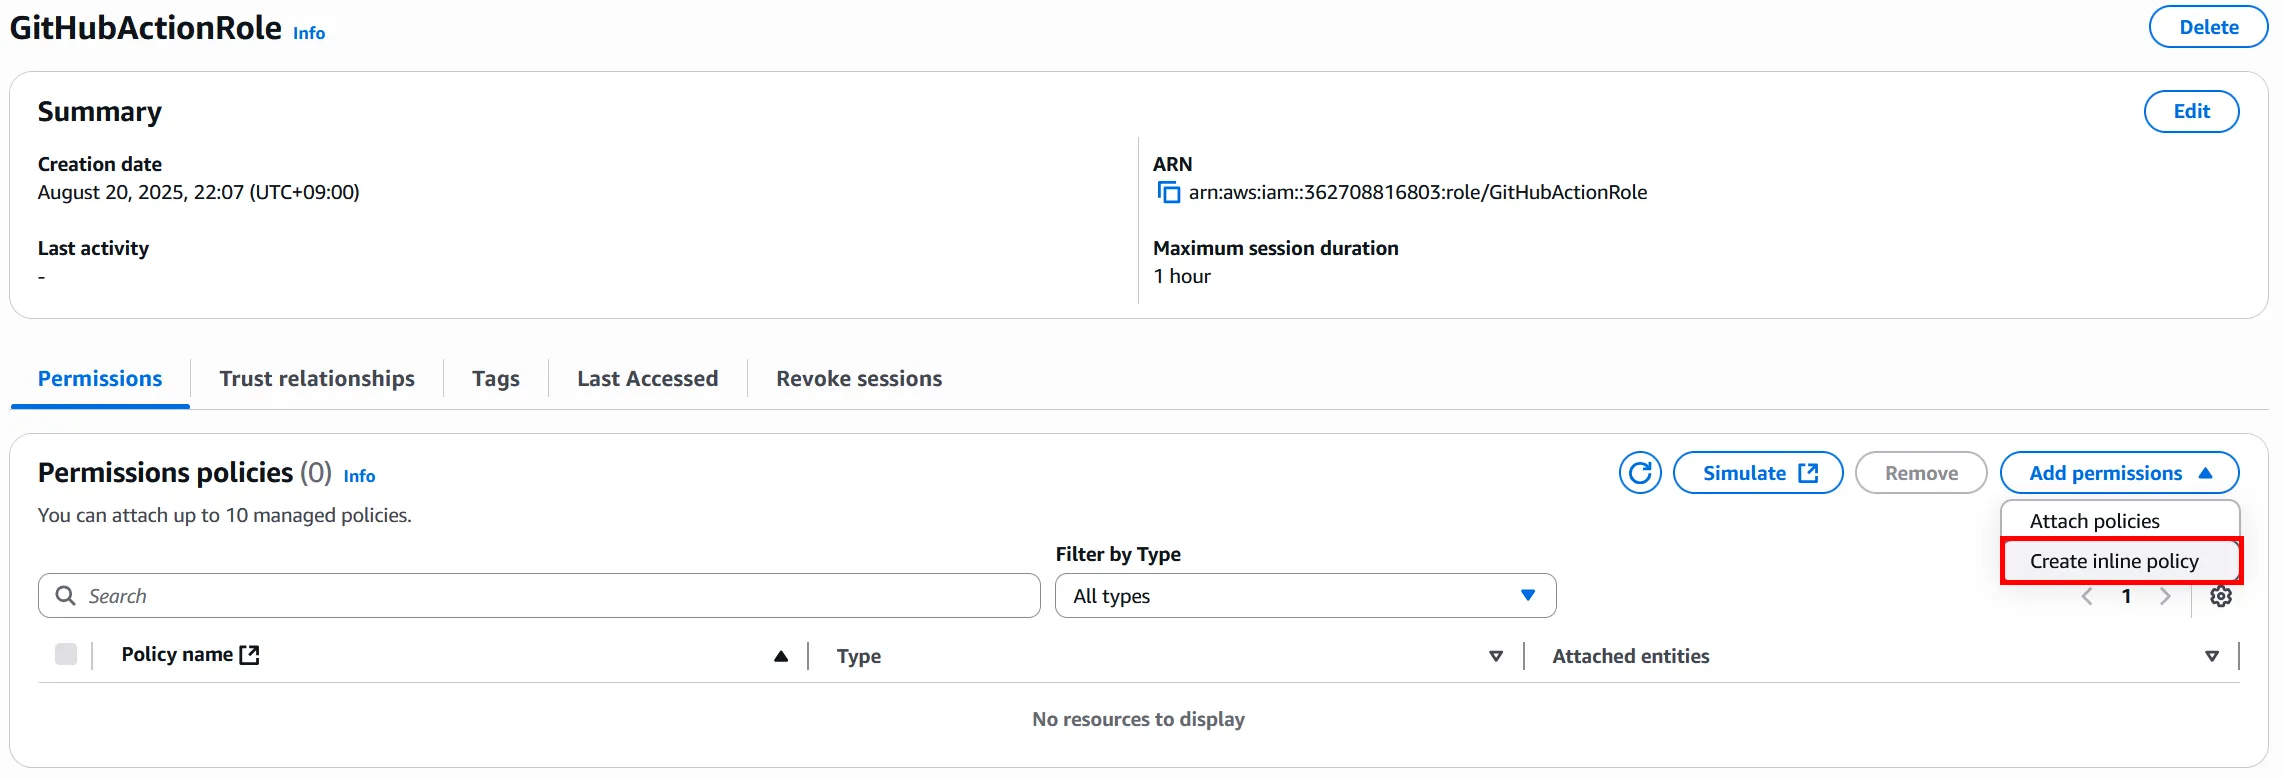
아래의 정책을 참고해서 부여해주면 됩니다.
{
  "Version": "2012-10-17",
  "Statement": [
    {
      "Sid": "LambdaDeployPermissions",
      "Effect": "Allow",
      "Action": [
        "lambda:GetFunctionConfiguration",
        "lambda:CreateFunction",
        "lambda:UpdateFunctionCode",
        "lambda:UpdateFunctionConfiguration",
        "lambda:PublishVersion"
      ],
      "Resource": "arn:aws:lambda:ap-northeast-2:<ACCOUNT_ID>:function:<LambdaFunctionName>"
    },
    {
      "Sid":"PassRolesDefinition",
      "Effect":"Allow",
      "Action":[
        "iam:PassRole"
      ],
      "Resource":[
        "arn:aws:iam::<ACCOUNT_ID>:role/GitHubActionRole"
      ]
    }
  ]
}
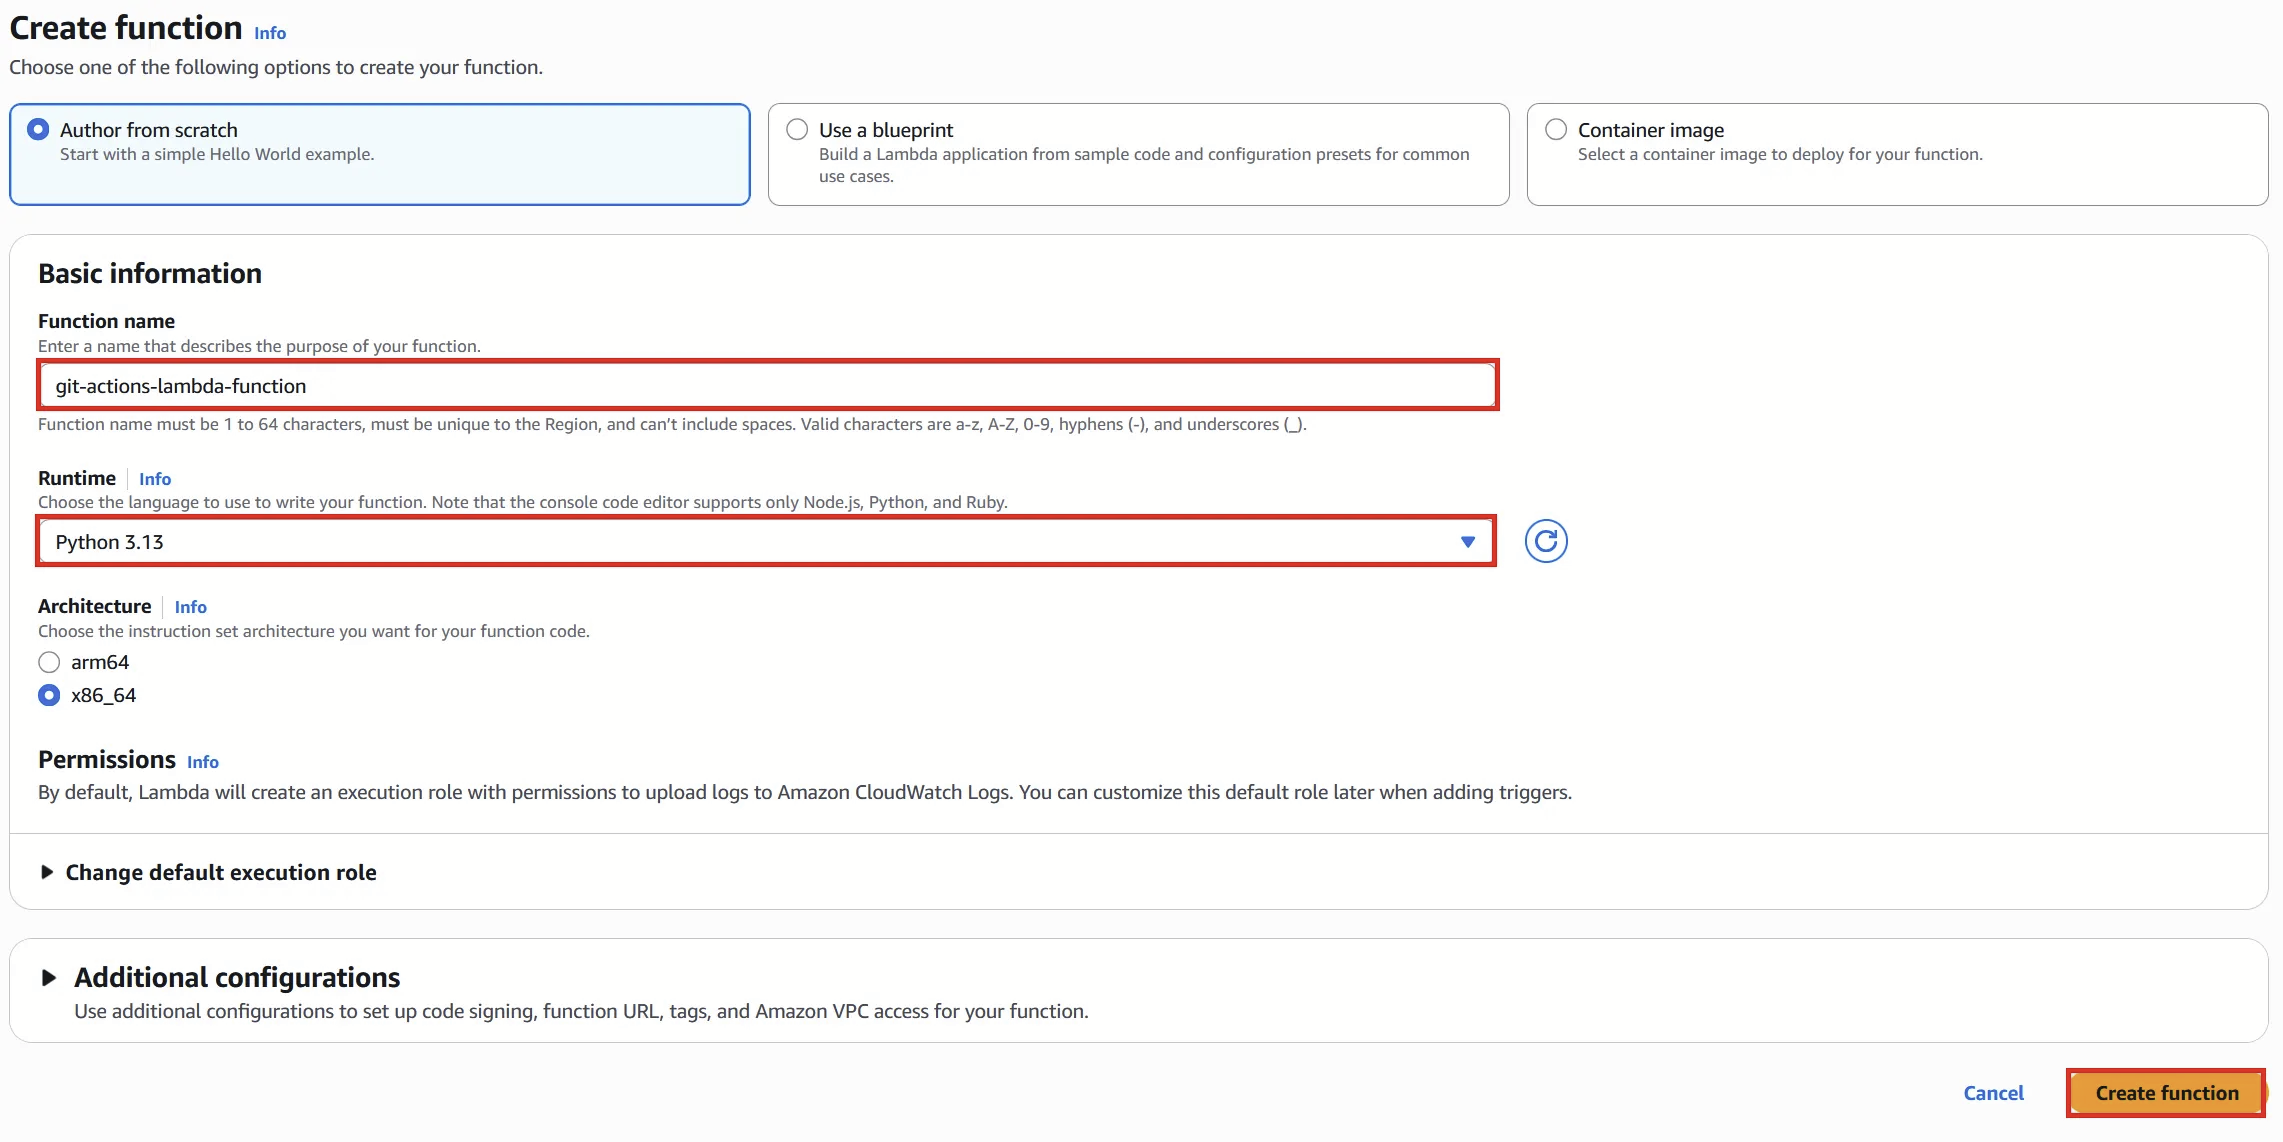
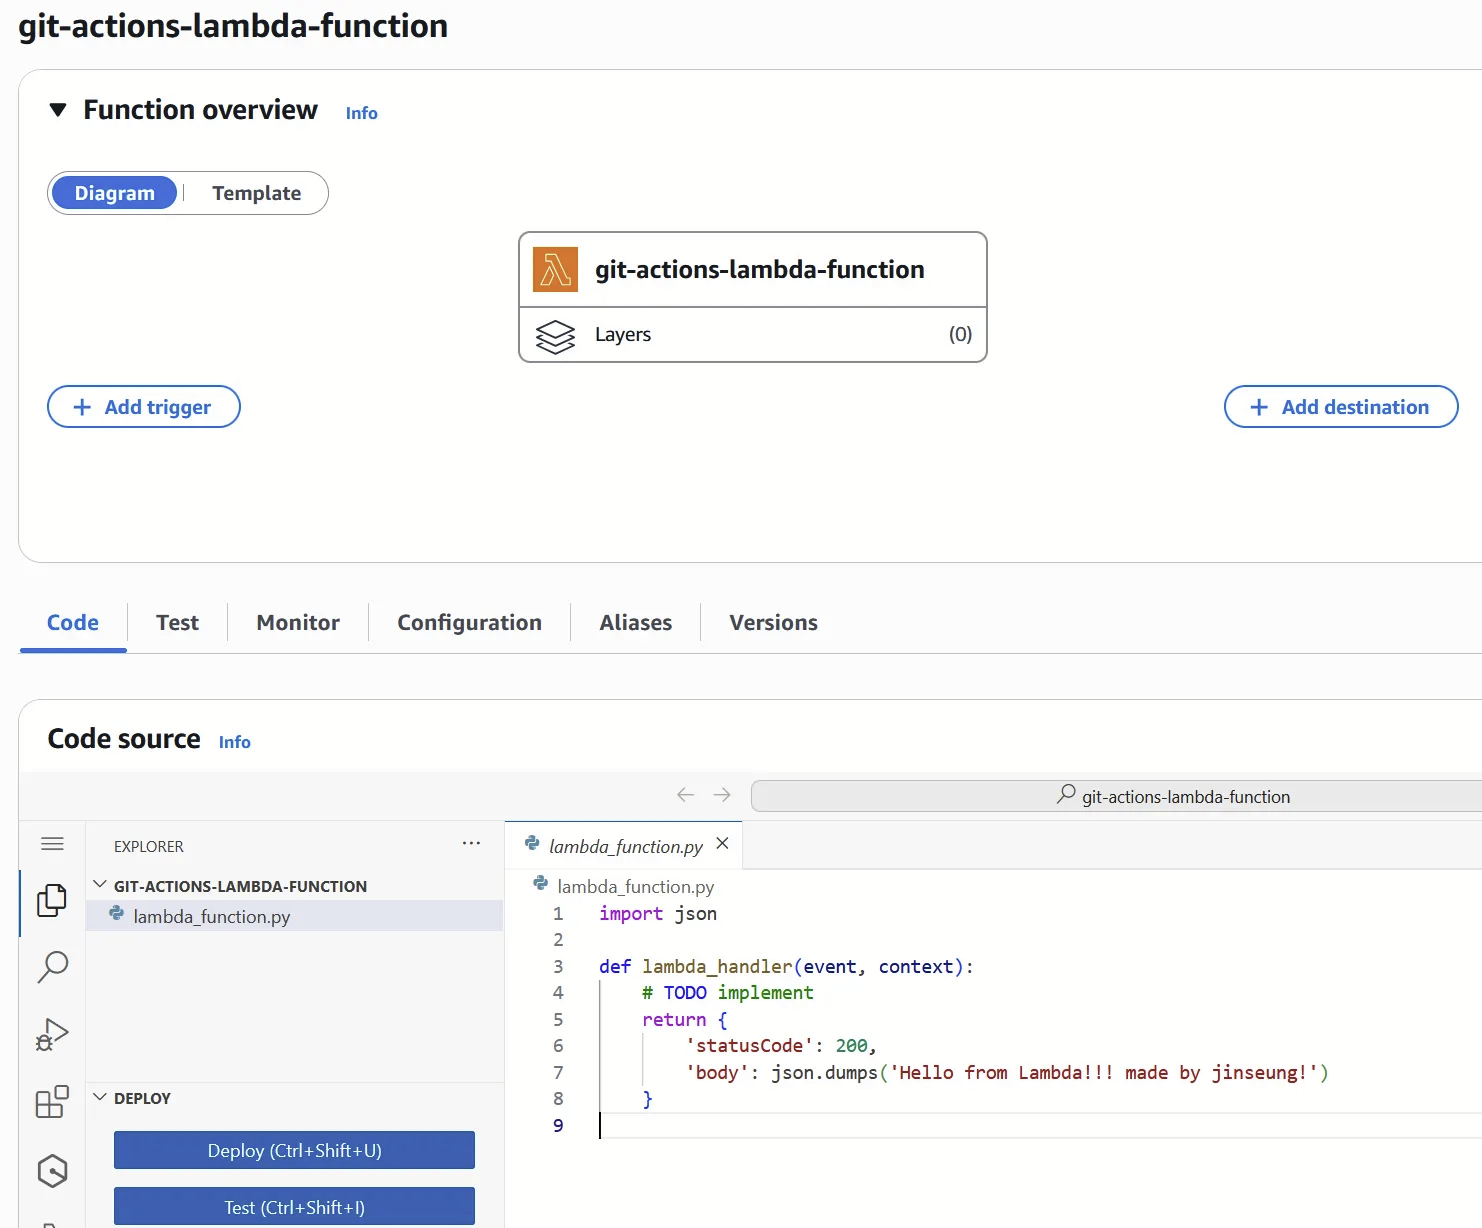
Lambda Function 구성
이제 아래의 사진과 같이 Lambda Function을 구성해줍니다.
Github 구성
Github Repository 구조는 아래와 같습니다.

아래의 코드를 .github/workflows/deploy.yml에 업로드해줍니다.
name: Deploy AWS Lambda

on:
  push:
    branches:
      - main

jobs:
  deploy:
    runs-on: ubuntu-latest
    permissions:
      id-token: write # Required for OIDC authentication
      contents: read  # Required to check out the repository
    steps:
      - uses: actions/checkout@v4

      - name: Configure AWS credentials
        uses: aws-actions/configure-aws-credentials@v4
        with:
          role-to-assume: arn:aws:iam::<ACCOUNT_ID>:role/GitHubActionRole
          aws-region: ap-northeast-2

      - name: Deploy Lambda Function
        uses: aws-actions/aws-lambda-deploy@v1
        with:
          function-name: git-actions-lambda-function # Lambda Function Name
          code-artifacts-dir: ./dist
마찬가지로 어플리케이션 코드인 아래의 파일을 dist/lambda_function.py에 업로드해줍니다.
import json

def lambda_handler(event, context):
    # TODO implement
    return {
        'statusCode': 200,
        'body': json.dumps('Hello from Lambda!')
    }
Result
- dist/lambda_function.py을 아래와 같이 작성 후 Github에 Commit & Push

Github에 Push까지 완료되었다면 아래의 사진과 같이 Workflow가 성공적으로 돌아간 모습을 확인할 수 있습니다.

이제 Lambda Console로 가서 코드를 확인해보면 아래의 사진과 같이 변경된 모습을 확인 할 수 있습니다.
이것으로 Lambda Git Actions를 이용한 CICD Pipeline 구성 글을 마치겠습니다. 감사합니다!
참고
https://github.com/aws-actions/aws-lambda-deploy
GitHub - aws-actions/aws-lambda-deploy: Deploys a Lambda function.
Deploys a Lambda function. Contribute to aws-actions/aws-lambda-deploy development by creating an account on GitHub.
github.com
GitHub - aws-actions/configure-aws-credentials: Configure AWS credential environment variables for use in other GitHub Actions.
Configure AWS credential environment variables for use in other GitHub Actions. - aws-actions/configure-aws-credentials
github.com
'Cloud > AWS' 카테고리의 다른 글
| Event Bridge를 이용해 ECR Image Push 감지 후 서버 실행하기 (0) | 2025.10.02 |
|---|---|
| EC2 Hop Limit (0) | 2025.09.30 |
| Docker Container log를 Cloudwatch Logs에 저장하기 (2) | 2025.06.14 |
| Amazon Linux 2023 MFA Connect (0) | 2025.06.12 |
| Amazon Linux 2023 Root ssh connect (0) | 2025.06.10 |