Istio Keycloak 인증 연동
이번 블로그에서는 Istio에 Keycloak 인증을 연동하는 글을 작성해보려합니다.
아키텍처는 아래와 같이 구성됩니다.

Istio & Keycloak 인증 연동 아키텍처를 구축하기 위해서는 아래의 순서를 따라야합니다.
1. EKS Cluster 구성 및 Keycloak 구성
2. Keyclaok 콘솔에서 환경 설정
3. Keyclaok 인증 Deployment 설정
EKS Cluster 구성 및 Keycloak 구성
EKS Cluster와 ACM이 생성되어있다는 전제로 진행합니다.
우선 Keycloak 구성을 위해 필요한 환경변수를 설정해줘야합니다.
EKS_CLUSTER_NAME="<CLUSTER_NAME>" # Change Your EKS Cluster Name
ACCOUNT_ID=$(aws sts get-caller-identity --query "Account" --output text)
CLUSTER_OIDC=$(aws eks describe-cluster --name $EKS_CLUSTER_NAME --query "cluster.identity.oidc.issuer" --output text | cut -c 9-100)
다음으로 EBS CSI Driver를 Keycloak이 사용하기에 구성을 해줍니다.
cat << EOF > aws-ebs-csi-driver-trust-policy.json
{
    "Version": "2012-10-17",
    "Statement": [
        {
            "Effect": "Allow",
            "Principal": {
                "Federated": "arn:aws:iam::ACCOUNT_ID:oidc-provider/OIDC"
            },
            "Action": "sts:AssumeRoleWithWebIdentity",
            "Condition": {
                "StringEquals": {
                    "OIDC:aud": "sts.amazonaws.com"
                }
            }
        }
    ]
}
EOF
sed -i "s|ACCOUNT_ID|$ACCOUNT_ID|g" aws-ebs-csi-driver-trust-policy.json
sed -i "s|OIDC|$CLUSTER_OIDC|g" aws-ebs-csi-driver-trust-policy.json
aws iam create-role --role-name AmazonEKS_EBS_CSI_DriverRole --assume-role-policy-document file:///home/ec2-user/aws-ebs-csi-driver-trust-policy.json
aws iam attach-role-policy --policy-arn arn:aws:iam::aws:policy/service-role/AmazonEBSCSIDriverPolicy --role-name AmazonEKS_EBS_CSI_DriverRole
eksctl create addon --name aws-ebs-csi-driver --cluster $EKS_CLUSTER_NAME --service-account-role-arn arn:aws:iam::$ACCOUNT_ID:role/AmazonEKS_EBS_CSI_DriverRole --force
kubectl patch storageclass gp2 -p '{"metadata": {"annotations":{"storageclass.kubernetes.io/is-default-class":"true"}}}'
EBS CSI Driver 구성을 끝마쳤다면 이제 Keycloak을 Helm으로 설치해줘야합니다.
cat << EOF > values.yaml
auth:
  adminUser: admin
  adminPassword: admin

proxy: edge
EOF
helm repo add bitnami https://charts.bitnami.com/bitnami
helm repo update
helm install keycloak -n keycloak bitnami/keycloak --create-namespace -f values.yaml --version 15.1.8
다음으로 AWS Load Balancer Controller를 이용해서 Keycloak을 외부로 노출시켜줘야합니다. Helm으로 설치를 진행하겠습니다.
curl -O https://raw.githubusercontent.com/kubernetes-sigs/aws-load-balancer-controller/v2.13.0/docs/install/iam_policy.json
aws iam create-policy \
    --policy-name AWSLoadBalancerControllerIAMPolicy \
    --policy-document file://iam_policy.json
eksctl create iamserviceaccount \
    --cluster=$EKS_CLUSTER_NAME \
    --namespace=kube-system \
    --name=aws-load-balancer-controller \
    --attach-policy-arn=arn:aws:iam::${ACCOUNT_ID}:policy/AWSLoadBalancerControllerIAMPolicy \
    --override-existing-serviceaccounts \
    --region ap-northeast-2 \
    --approve
helm repo add eks https://aws.github.io/eks-charts
helm repo update eks
helm install aws-load-balancer-controller eks/aws-load-balancer-controller \
  -n kube-system \
  --set clusterName=$EKS_CLUSTER_NAME \
  --set serviceAccount.create=false \
  --set serviceAccount.name=aws-load-balancer-controller
다음으로 아래의 ingress 코드를 이용해서 Keycloak을 외부로 노출시켜주면 됩니다.
서브넷에는 아래의 태그가 있어야합니다.

apiVersion: networking.k8s.io/v1
kind: Ingress
metadata:
  name: keycloak-ingress
  namespace: keycloak
  annotations:
    kubernetes.io/ingress.class: alb
    alb.ingress.kubernetes.io/scheme: internet-facing
    alb.ingress.kubernetes.io/target-type: ip
    alb.ingress.kubernetes.io/healthcheck-path: /realms/master
    alb.ingress.kubernetes.io/listen-ports: '[{"HTTPS":443}, {"HTTP":80}]'
    alb.ingress.kubernetes.io/certificate-arn: <ACM_ARN>
    alb.ingress.kubernetes.io/ssl-redirect: '443'

spec:
  defaultBackend:
    service:
      name: keycloak
      port:
        number: 80
Keyclaok 콘솔에서 환경 설정
우선 Realm을 설정해줘야합니다.


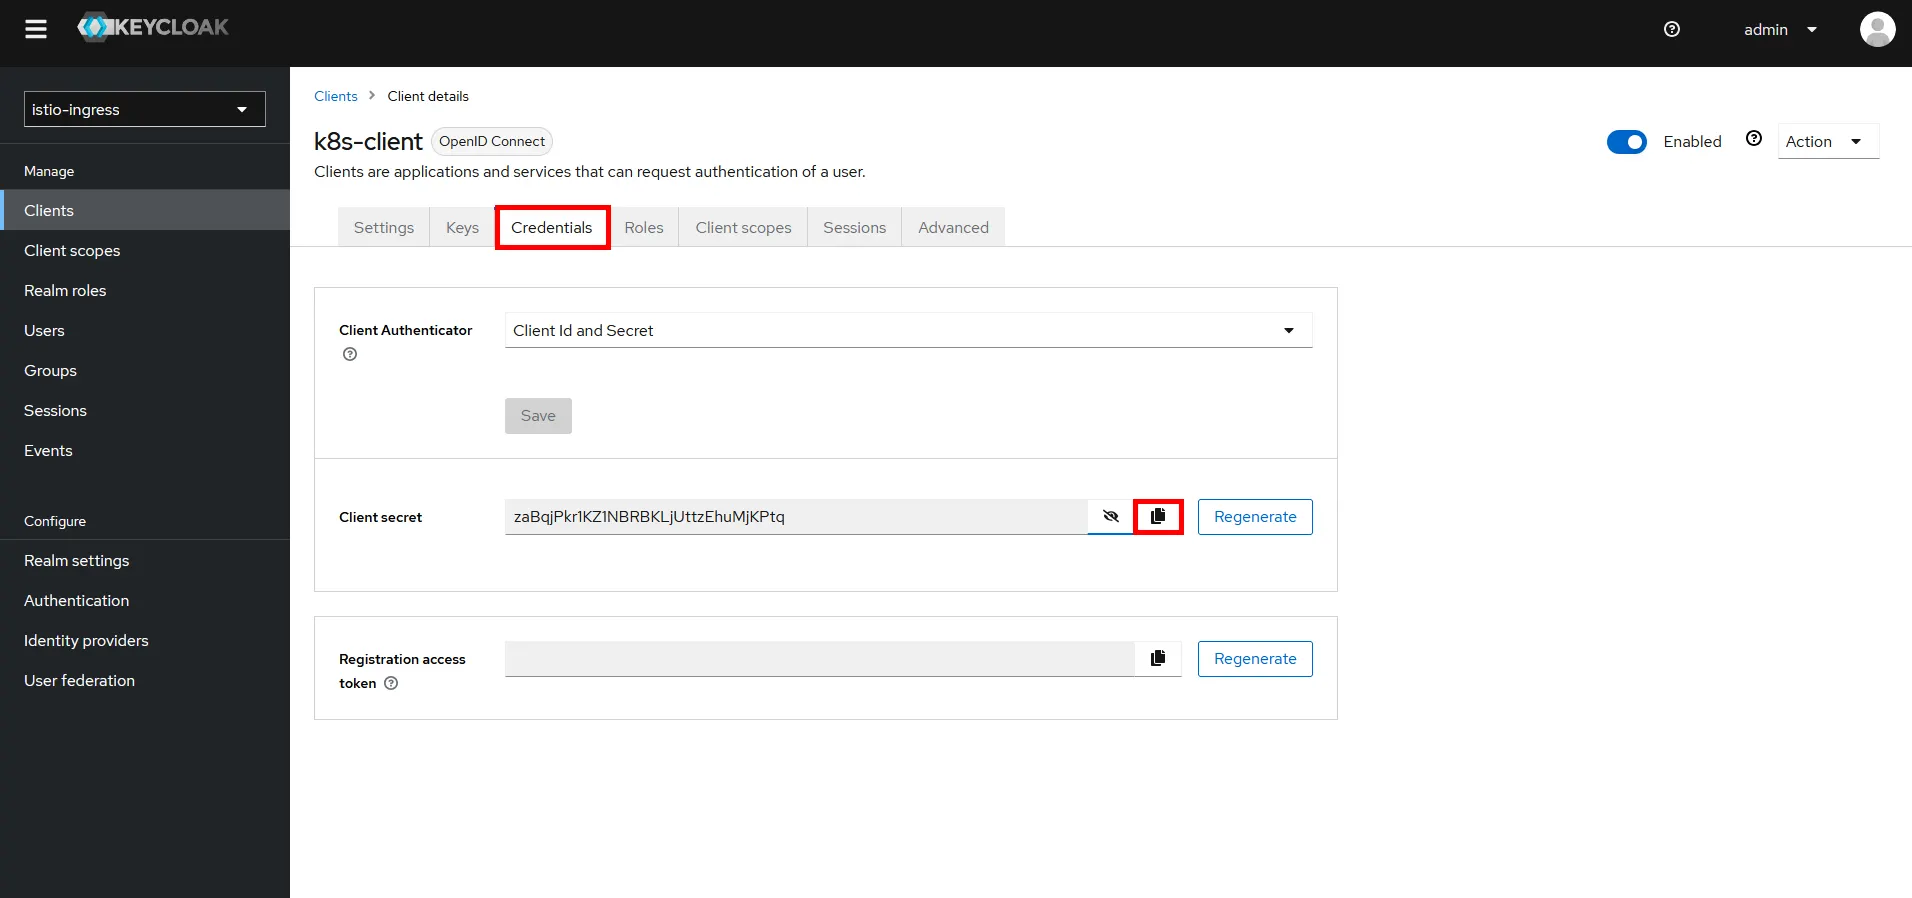
다음으로 Client를 생성해줍니다.

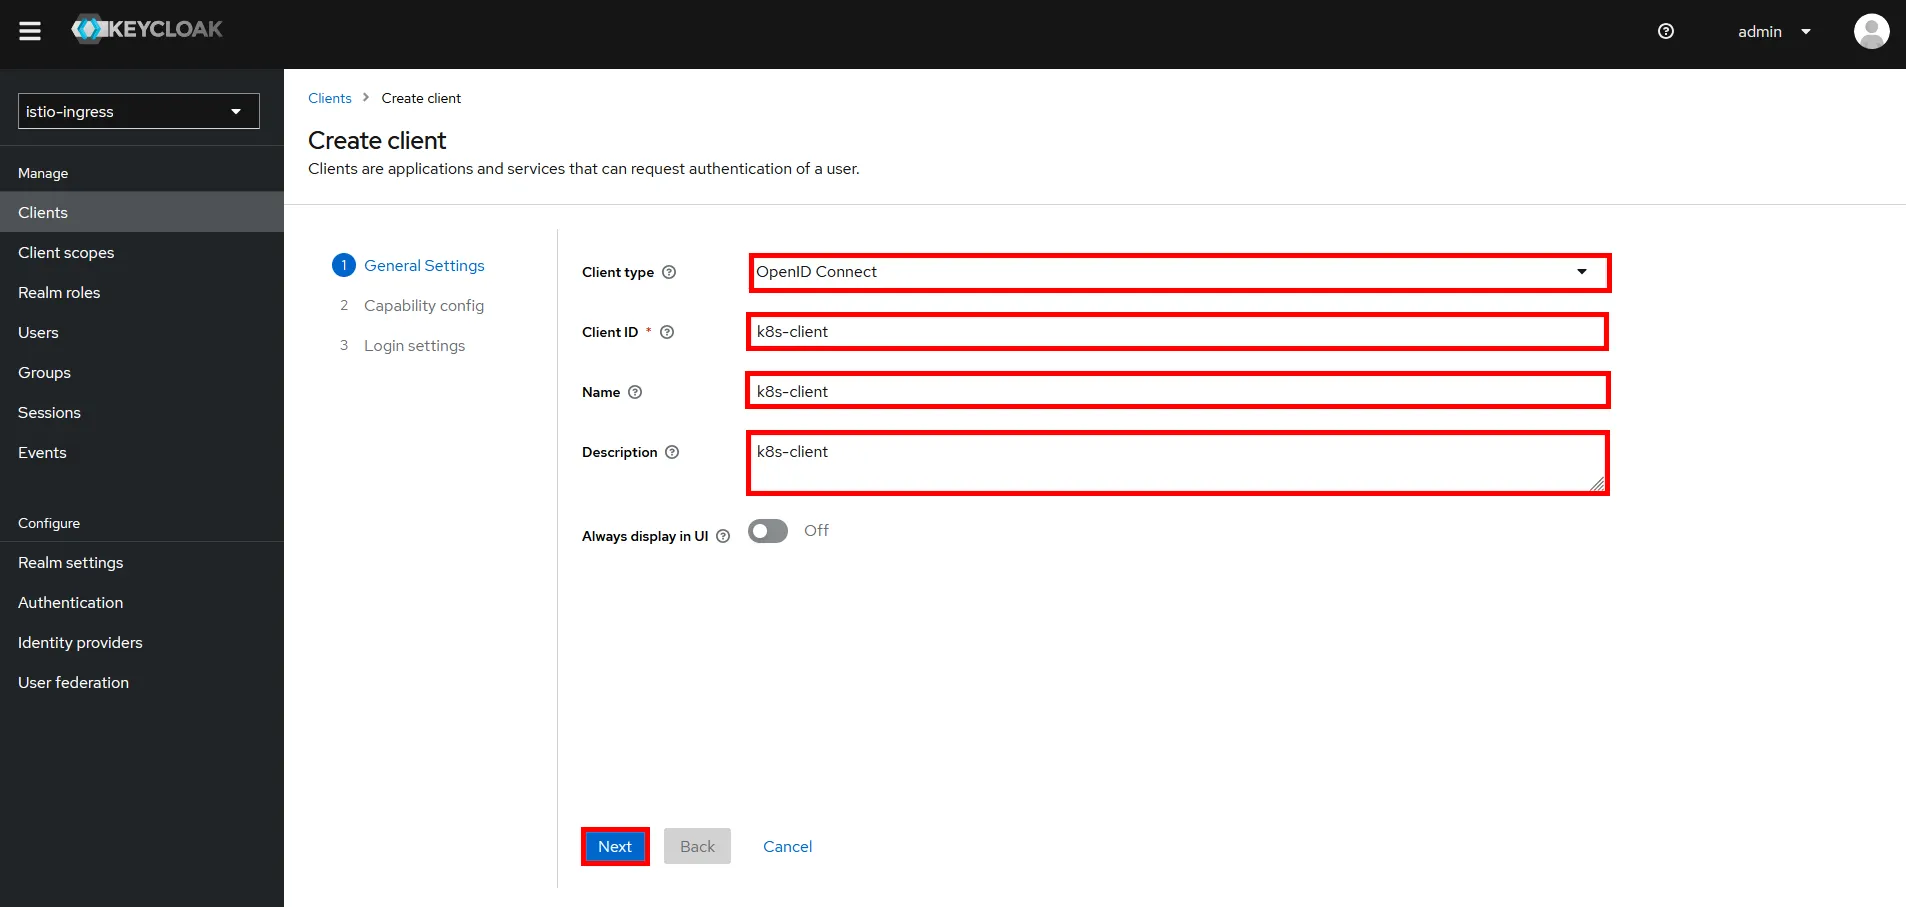


- <IstioDNS>/oauth2/callback

다음으로 Identity Providers를 구성해줍니다.


아래의 URL을 참고하시면 됩니다.

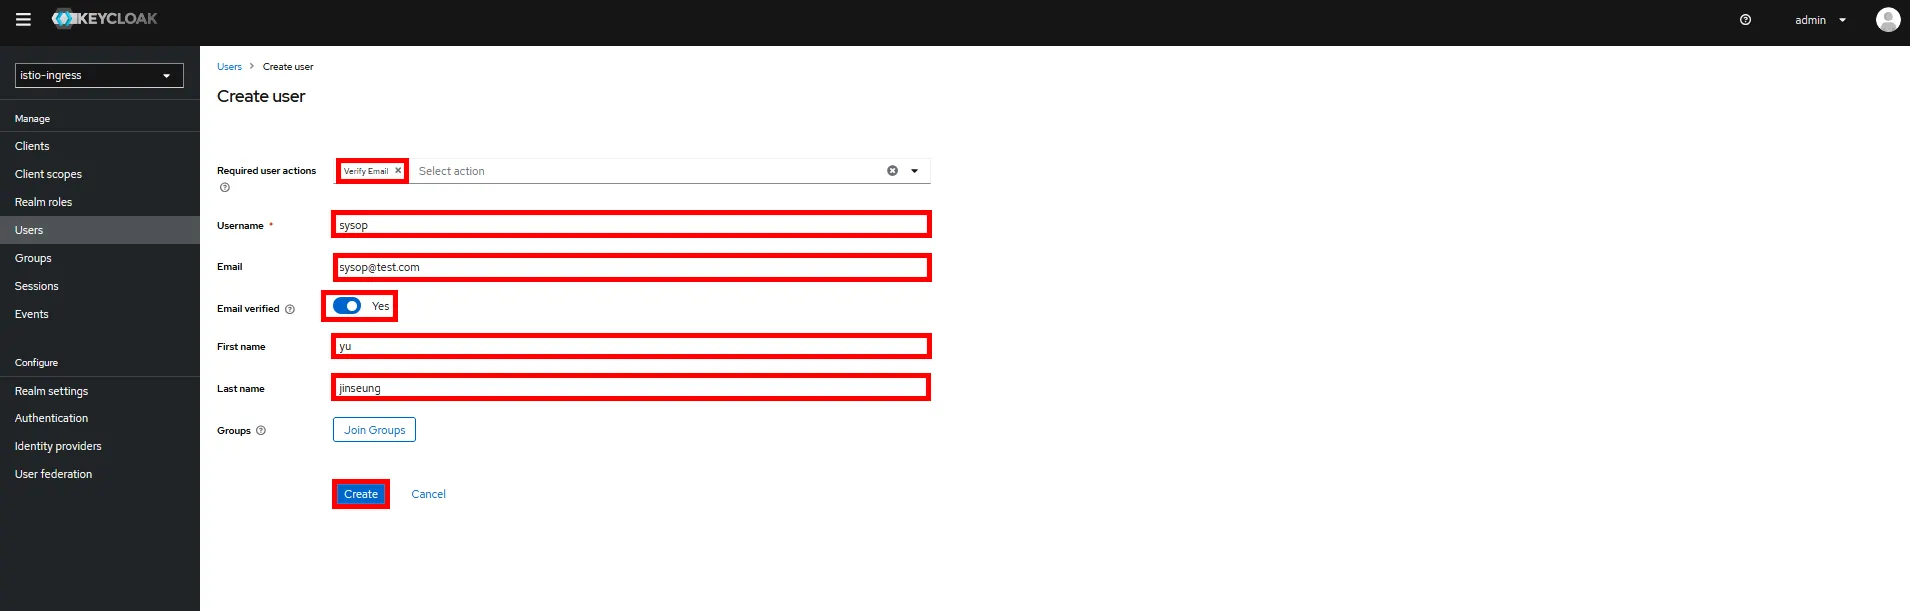
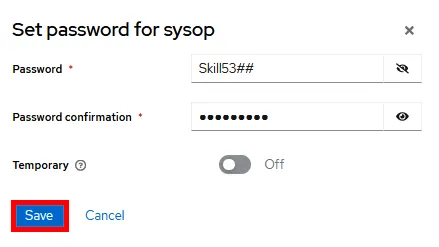
마지막으로 User를 생성해주면 됩니다.


Keyclaok 인증 Deployment 설정
이제 다시 EKS로 돌아와서 아래의 절차를 따라서 구성하면됩니다.
kubectl label namespace default istio-injection=enabled --overwrite
kubectl create ns oauth2-proxy
아래의 코드를 참고해서 Secret을 구성해줍니다.
apiVersion: v1
kind: Secret
metadata:
  name: oauth2-proxy
  namespace: oauth2-proxy
stringData:
  # change this to your Keycloak Realm Client Id
  OAUTH2_PROXY_CLIENT_ID: ""
  # change this to your Keycloak Client Secret
  OAUTH2_PROXY_CLIENT_SECRET: ""
  # Generate by command: openssl rand -base64 32 | tr -- '+/' '-_'
  OAUTH2_PROXY_COOKIE_SECRET: ""
다음으로 아래의 코드를 참고해서 인증을 진행하는 OAtuh Proxy Deployment를 생성해줍니다. 도메인은 변경해줘야 합니다.
apiVersion: apps/v1
kind: Deployment
metadata:
  name: oauth2-proxy
  namespace: oauth2-proxy
spec:
  selector:
    matchLabels:
      app: oauth2-proxy
  template:
    metadata:
      labels:
        app: oauth2-proxy
    spec:
      containers:
      - name: oauth2-proxy
        image: quay.io/oauth2-proxy/oauth2-proxy:v7.2.1
        args:
        - --provider=oidc
        - --oidc-issuer-url=https://keycloak-k8s.kro.kr/realms/istio-ingress # Change Here
        - --profile-url=https://keycloak-k8s.kro.kr/realms/istio-ingress/protocol/openid-connect/userinfo # Change Here
        - --validate-url=https://keycloak-k8s.kro.kr/realms/istio-ingress/protocol/openid-connect/userinfo # Change Here
        - --set-authorization-header=true
        - --http-address=0.0.0.0:4180
        - --pass-host-header=true
        - --reverse-proxy=true
        - --auth-logging=true
        - --cookie-httponly=true
        - --cookie-refresh=4m
        - --cookie-secure=false
        - --email-domain="*"
        - --pass-access-token=true
        - --pass-authorization-header=true
        - --request-logging=true
        - --set-xauthrequest=true
        - --silence-ping-logging=true
        - --skip-provider-button=true
        - --skip-auth-strip-headers=false
        - --ssl-insecure-skip-verify=true
        - --standard-logging=true
        - --upstream="static://200"
        - --whitelist-domain=".keycloak-k8s.kro.kr,.cluster.local" # Change Here
        env:
        - name: OAUTH2_PROXY_CLIENT_ID
          valueFrom:
            secretKeyRef:
              name: oauth2-proxy
              key: OAUTH2_PROXY_CLIENT_ID
        - name: OAUTH2_PROXY_CLIENT_SECRET
          valueFrom:
            secretKeyRef:
              name: oauth2-proxy
              key: OAUTH2_PROXY_CLIENT_SECRET
        - name: OAUTH2_PROXY_COOKIE_SECRET
          valueFrom:
            secretKeyRef:
              name: oauth2-proxy
              key: OAUTH2_PROXY_COOKIE_SECRET
        resources:
          requests:
            cpu: 10m
            memory: 100Mi
        ports:
        - containerPort: 4180
          protocol: TCP
        readinessProbe:
          periodSeconds: 3
          httpGet:
            path: /ping
            port: 4180
apiVersion: v1
kind: Service
metadata:
  name: oauth2-proxy
  namespace: oauth2-proxy
spec:
  selector:
    app: oauth2-proxy
  ports:
  - name: http
    port: 4180
다음으로 아래의 명령어를 이용해서 Istio를 설치 및 구성 해줍니다.
curl -L https://istio.io/downloadIstio | sh -
cd istio-1.27.0
export PATH=$PWD/bin:$PATH
apiVersion: install.istio.io/v1alpha1
kind: IstioOperator
metadata:
  name: oauth2-proxy
  namespace: istio-system
spec:
  profile: default
  meshConfig:
    extensionProviders:
      - name: oauth2-proxy
        envoyExtAuthzHttp:
          service: oauth2-proxy.oauth2-proxy.svc.cluster.local
          port: 4180
          timeout: 1.5s
          includeHeadersInCheck: ["authorization", "cookie"]
          headersToUpstreamOnAllow: ["x-forwarded-access-token", "authorization", "path", "x-auth-request-user", "x-auth-request-email", "x-auth-request-access-token"]
          headersToDownstreamOnDeny: ["content-type", "set-cookie"]
  values:
    gateways:
      istio-ingressgateway:
        serviceAnnotations:
          service.beta.kubernetes.io/aws-load-balancer-type: "nlb"
          service.beta.kubernetes.io/aws-load-balancer-scheme: "internet-facing"
 istioctl install -f istio-conf.yaml --skip-confirmation
 # istioctl upgrade -f istio-conf.yaml
이제 인증 성공시 접속할 nginx app을 생성해줍니다.
apiVersion: apps/v1
kind: Deployment
metadata:
  name: nginx-app
spec:
  replicas: 1
  selector:
    matchLabels:
      app: nginx-app
  template:
    metadata:
      labels:
        app: nginx-app
    spec:
      containers:
      - name: nginx
        image: nginx:latest
        ports:
        - containerPort: 80
---
apiVersion: v1
kind: Service
metadata:
  name: nginx-app
spec:
  selector:
    app: nginx-app
  ports:
  - port: 80
    targetPort: 80
마지막으로 Gateway, VirtualService, AuthorizationPolicy를 생성해줍니다.
apiVersion: networking.istio.io/v1
kind: Gateway
metadata:
  name: nginx-gateway
spec:
  selector:
    istio: ingressgateway
  servers:
  - port:
      number: 80
      name: http
      protocol: HTTP
    hosts:
    - "*"
apiVersion: networking.istio.io/v1beta1
kind: VirtualService
metadata:
  name: nginx-vs
spec:
  hosts:
  - "*"
  gateways:
  - nginx-gateway
  http:
  - route:
    - destination:
        host: nginx-app
        port:
          number: 80
apiVersion: security.istio.io/v1beta1
kind: AuthorizationPolicy
metadata:
  name: nginx-authz
spec:
  selector:
    matchLabels:
      app: nginx-app
  action: CUSTOM
  provider:
    name: oauth2-proxy
  rules:
  - to:
    - operation:
        methods: ["GET","POST"]
Result
아래의 사진과 같이 Istio DNS로 접속을 시도 할려고 하면 Keycloak 인증 페이지가 뜨게 됩니다.

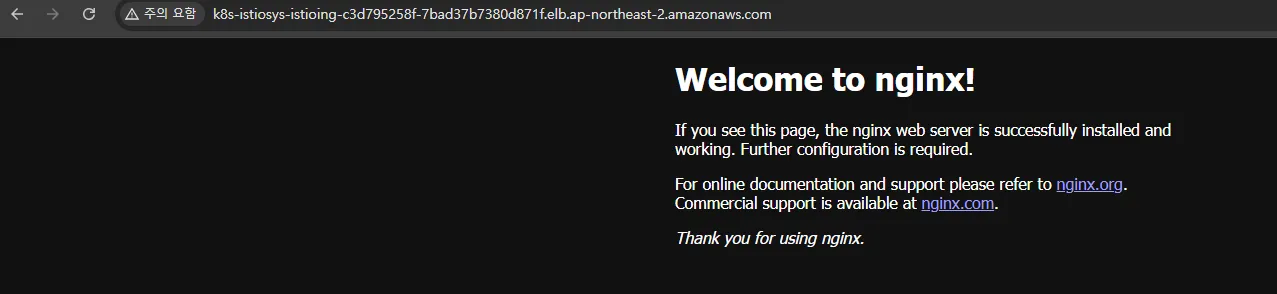
인증 성공 시 아래의 사진과 같이 nginx 페이지를 볼 수 있습니다.
이것으로 Istio & Keycloak 인증 연동 구성 글을 마치겠습니다. 감사합니다!
참고
https://malwareanalysis.tistory.com/310
istio keycloak 인증 연동 - 작성중단
업무로서 istio를 사용하지 않아서.. 공부를 중단합니다. ㅜ.ㅜ 목차 서비스 메시는 무엇일까?: https://malwareanalysis.tistory.com/280 Istio아키텍처: https://malwareanalysis.tistory.com/304 envoy proxy 체험: https://malwa
malwareanalysis.tistory.com
https://www.keycloak.org/securing-apps/oidc-layers
Securing applications and services with OpenID Connect
Use OpenID Connect with Keycloak to secure applications and services.
www.keycloak.org